Differing from anything I've ever posted before (except for maybe my Tie Dye Sharpie Shoes post) I'm blogging today to show you all something I've made! At the very least I know my grandma will enjoy seeing this :)
So back in 2011, my grandma and I found this great purse pattern at a quilt shop. It's called "The Mail Sack" by Pink Chalk, and it is so great! For someone who gets frustrated at every turn when sewing, this bag is a really quick thing to whip up without pulling out too many hairs. My grandmother and I have probably made over a dozen bags total over the years and have no plans to stop. That Christmas, everyone got a bag. I felt like Oprah.
When I moved here, I obviously couldn't take grandma, her pattern, and her entire sewing room (complete with every tool you could ever think you'd possibly need) with me. But then Patrick bought the pattern for me for Easter a few months ago and I was excited to make another bag!
When Patrick got his new desk last week for work (it's a 3 sided desk) I finally had a place to sew without having to move computers and the like to do so, so I decided it was time to start a project.
I spent about an hour at Joann's picking out the perfect fabrics and started on it the next day.
Unfortunately I did make a mistake and I bought the wrong type of interfacing for the project (it calls for fusible, I got the regular kind), but I was able to run over to Wal Mart where they had exactly what I needed (and for super cheap, too! I was tempted to buy the whole bolt!). While I was there, I also picked up a zipper, which the bag calls for but I initially thought that was too adventurous for me to try.
Up until this point, I had only made the "Mini Mail Sack" but they did provide a pattern for the "Large Mail Sack," which I opted for this time because I've always found that the mini one doesn't hold enough stuff for me.
Here is the fabric I went with:

This was for the "base."

This was for the "yoke and strap" and also the pockets.

This was for the lining. The picture doesn't do it justice. The fabric is a little darker than this and less yellow, which you can see in other photos.
I believe the two multi-colored fabrics I chose were from the same line and I just happened to find them in different sections of the store. I always love making bags with fabrics from the same line so that I know they will effortlessly go together. When I go to fabric stores I often mentally shut down because there are TOO MANY OPTIONS but if I choose one fabric that I like and it has color matching fabric from the same line, it makes it much easier on my poor brain. Then I simply have to choose a lining fabric. Sometimes I get lucky and there are multiple fabrics in the same line and I don't even have to search for a lining!

Please excuse the mess, it was so late by the time I finished the bag and I was falling asleep.


I've placed a DVD here for size reference.

Here is the bag inside out to show you the zipper pocket. This is a much more accurate photo of the color of the orange fabric.

(Sorry about the pale photo, I don't know what that's about!)
This is my zipper! I'm pleased with how well I did on it for my first time. The pattern called for a zipper "the same color as the lining fabric" but I thought, "how will I see the zipper if there is poor lighting?" and I went with the green one. Actually, it's because there were no other colors at Wal Mart that matched the pattern except for this one, so green it was! But I really like it :)

Here is the bag inside out to show you the other side of the pockets. It's a simple large pocket divided with a line of stitching. But I thought that wouldn't be good as-is because I would lose things like bobby pins in such a large pocket...

So I added baby pockets underneath the large pocket! I can never make one of these bags without customizing something.

Here is our lovely model, Patrick, showing you how the bag looks on a human.

Overall I'm super pleased with the outcome and I can't wait to show it off! Initially I went to the store intending to make a Marvel Avengers purse because I'm in love with The Hulk, Captain America, and Iron Man (in that order), but they had some really terrible options and I was really bummed about them.
And because I still have my "Mini Mail Sack," I'll include photos of that one as well so you can see the size difference!
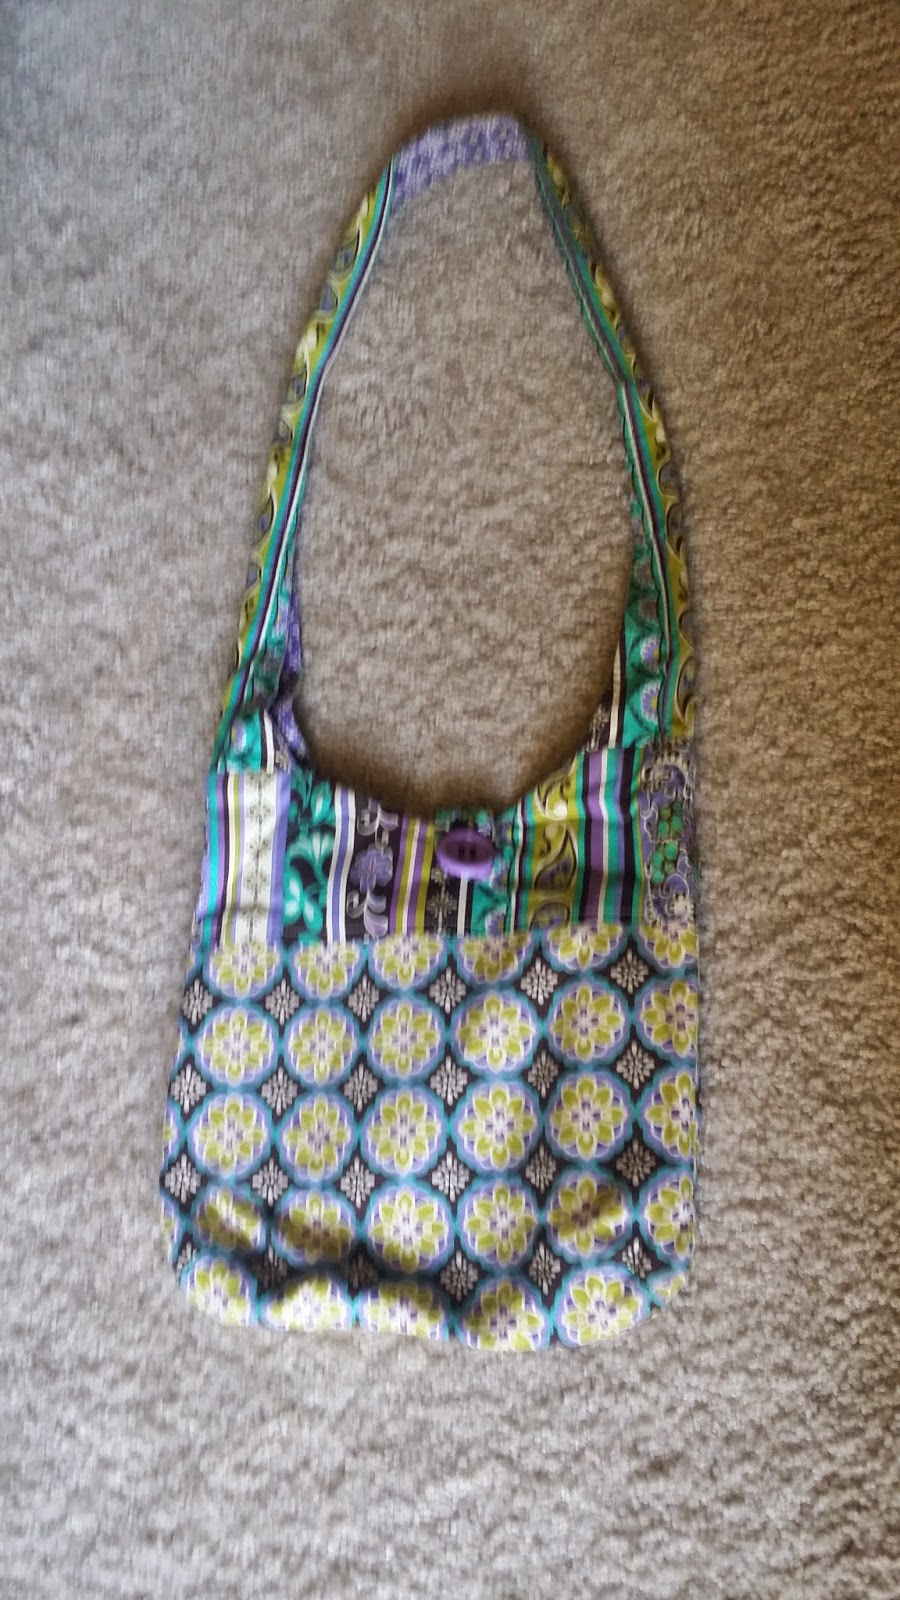
The "Mini Mail Sack"
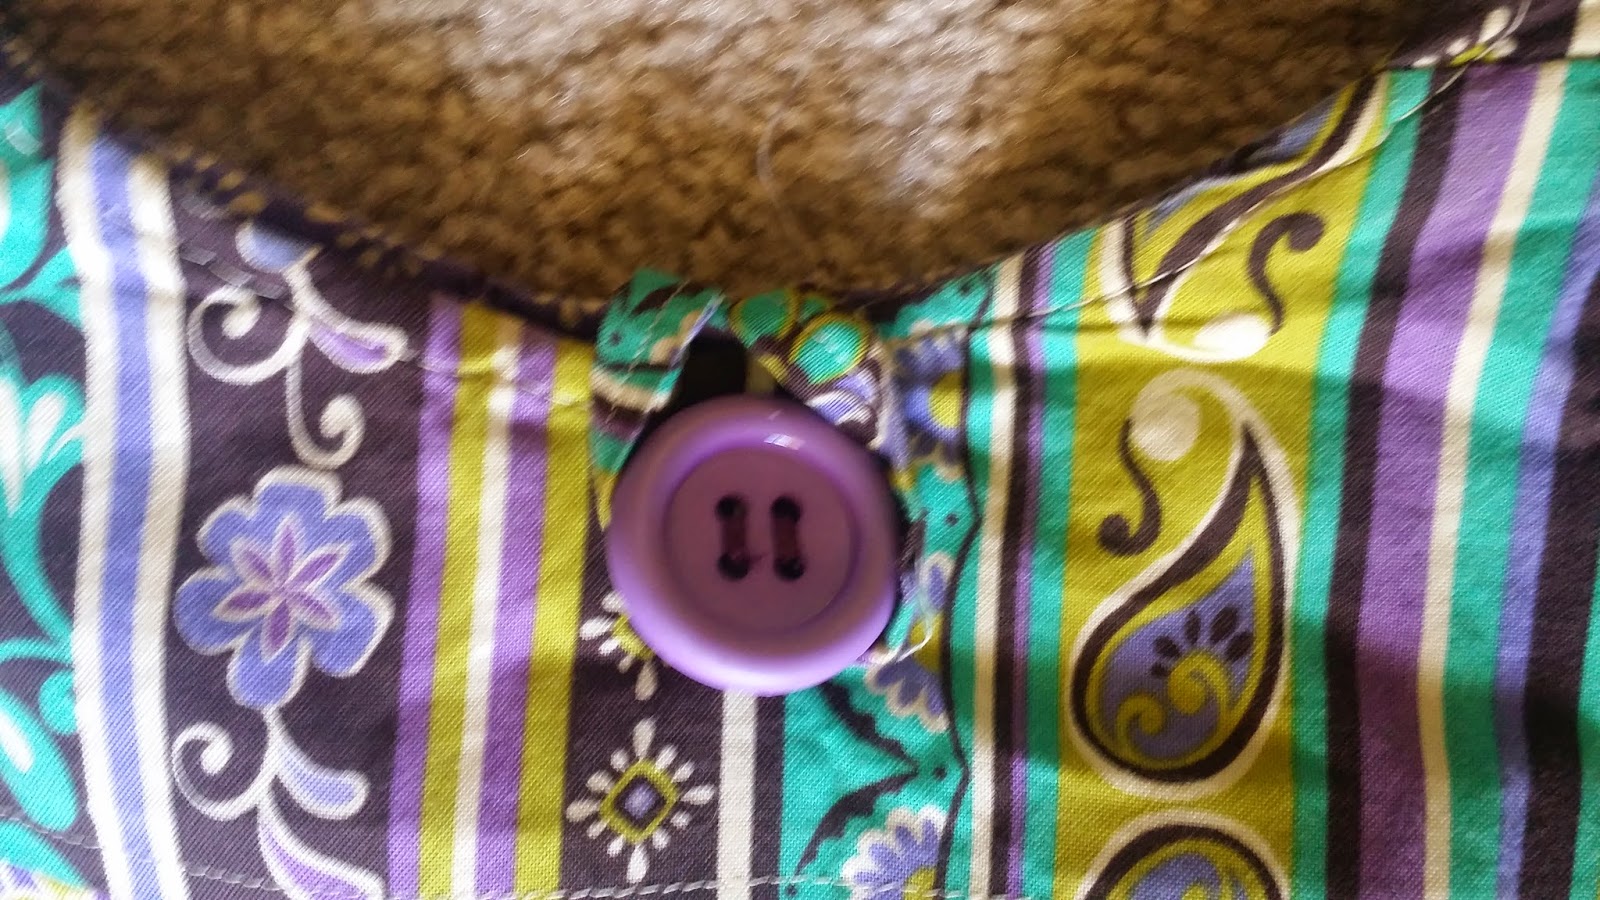
My "customization" (I added a tab and a button)

The "base" fabric. Also the fabric of one of the pockets.

The "yoke and strap" fabric. Also the fabric of one the other pocket.

The "regular" pocket (no stitching in the middle). I believe this was an addition of my own and the pattern only called for one divided pocket, as shown in the next photo.

My divided pocket.

Comparison

As you can see, the size difference is pretty great. I almost wish there were a third "middle" option for the bag size! I'm sure I could eventually whip something up on my own, though.

Again, our lovely model Patrick :)
So there you have it! If you're interested, the materials for the large bag were about $22 (but all of the fabrics were 40% off). Additionally, you can purchase the pattern from Amazon here.
No comments:
Post a Comment
Note: Only a member of this blog may post a comment.